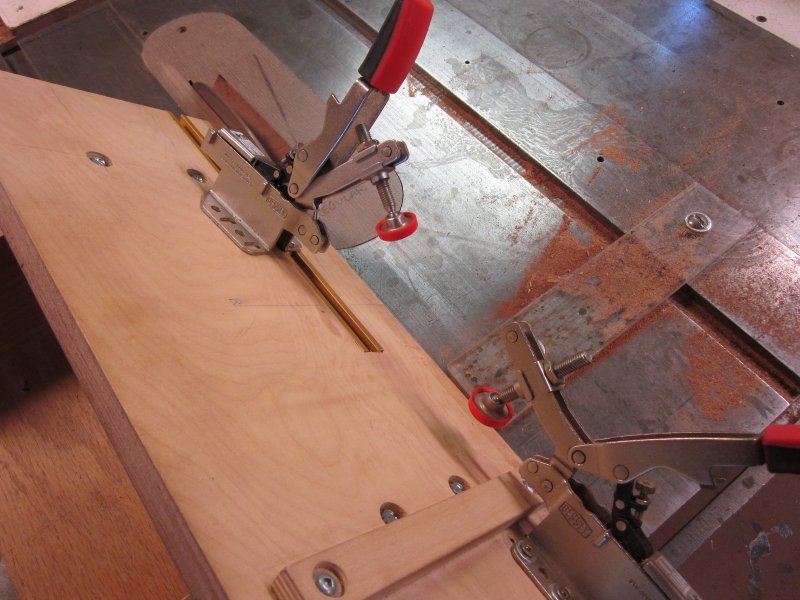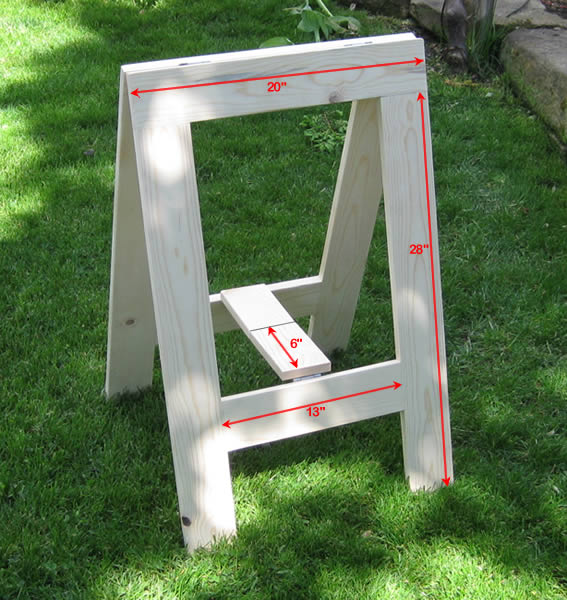
Merle clamps on a large Double Decker box in progress...
We've used Merle clamps for years and years. If I could find band clamps that were as robust as them but without the frustrations I would switch in a minute. By robust I mean the amount of clamping pressure you can apply. But they can fail in a few areas that will drive you mad.

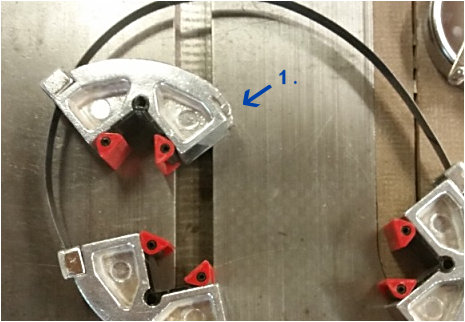
1. This is a newer "improvement". The corner of this piece used to be solid, cast as part of the clamp corner. I've had a few of these new plastic corners break off with the result that the clamp corner unit flops around when you attempt to position it around your object. Irritating! If both break off on one corner I don't know what you could do to remedy it besides buying a replacement. Why on earth did they do this?
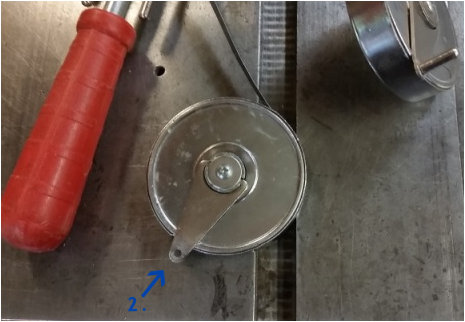
2. I have 12 Merle clamps...only six continue to have their round strapping cases attached to the strapping. Of those six, the little handles for winding the strapping back into the round strapping case have fallen off. The only option is to stick a nail (with a head of course) through the hole to use as a handle for winding up the strapping. It works (I recommend wearing gloves) but I have started to just say the hell with it and hang the clamp up with the unrolled portion hanging down.
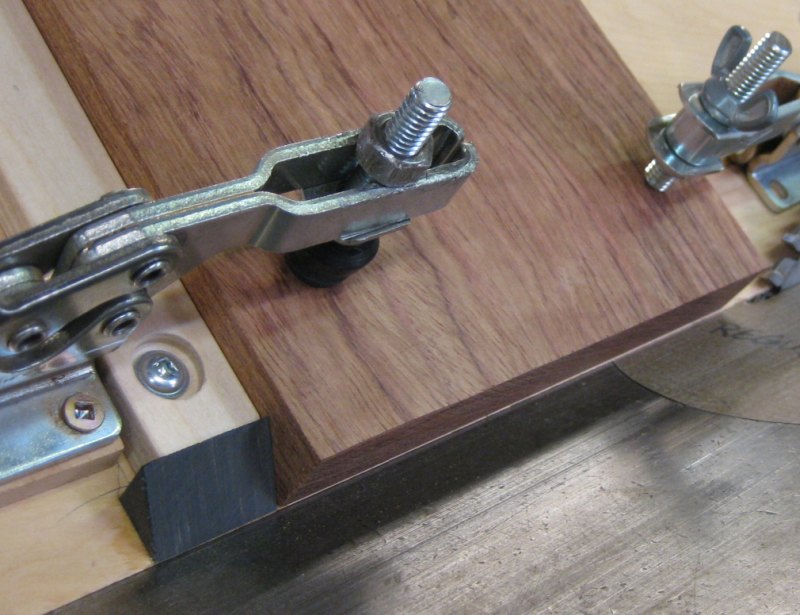
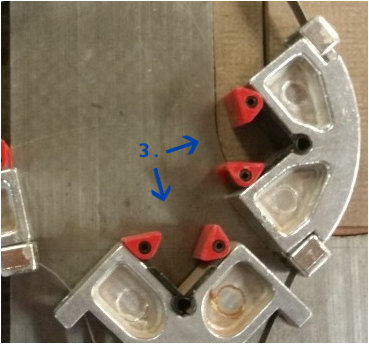
3. This one is another new innovation. I do like that with those plastic gizmos installed (they are optional) you can clamp smaller objects. Otherwise it can be fussy work to get the face of all eight pivoting pads arranged so you can tighten things down. Actually I only have them on one clamp in case I have an extra small object to clamp.
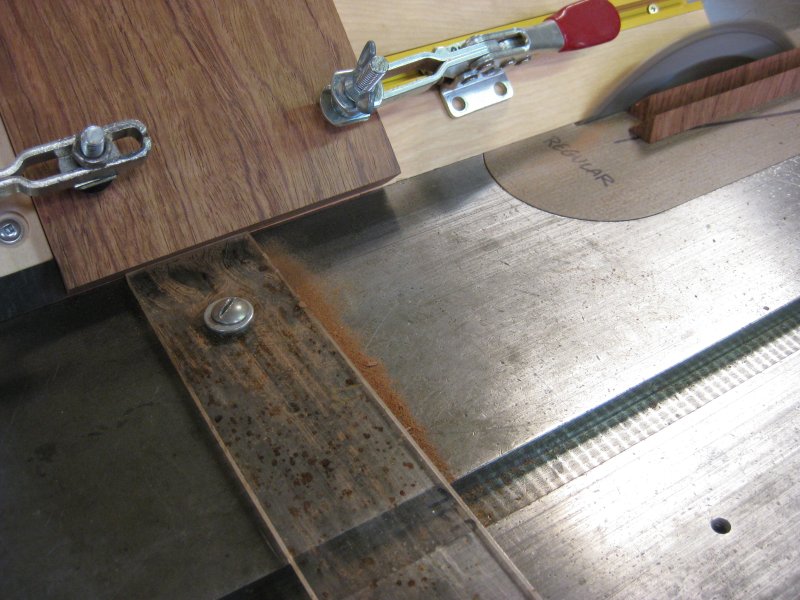
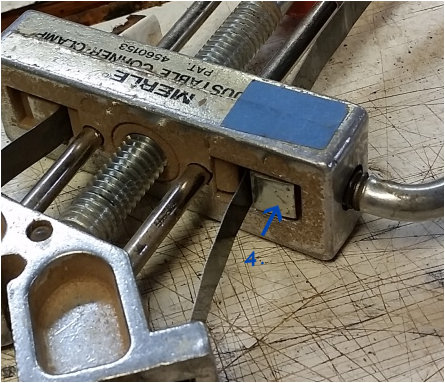
4. There are two handles to tighten when clamping. The long red handle of course, and also this kind of handled bolt allows you to quickly pull in or release lengths of strapping. It a good thing. But...there is a loose piece of steel, between the handle and the strapping, that often gets "sticky". Sometimes I need to use a tiny tack hammer to knock it loose so the handle (and hence the movement of strapping itself) tightens or loosens more smoothly.
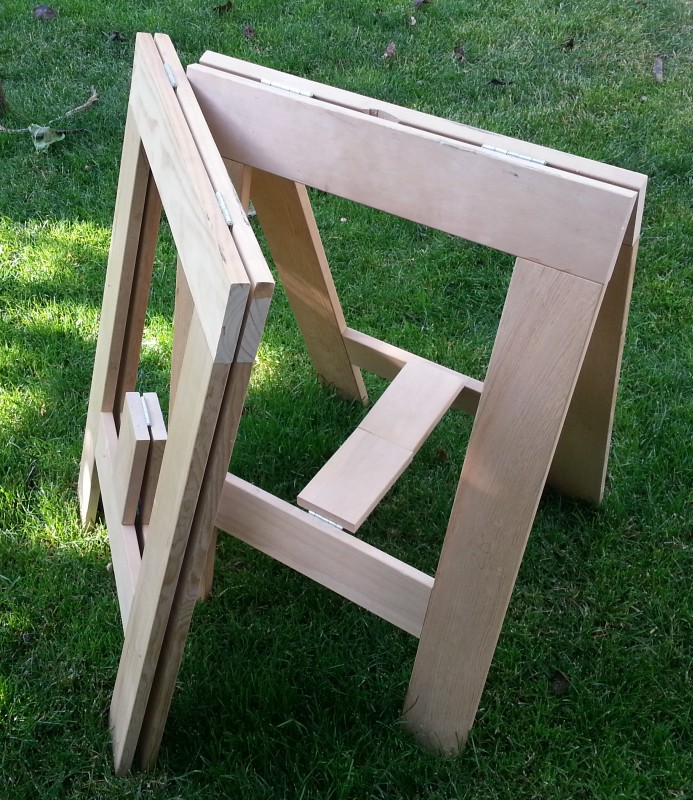
As I mentioned, half of my clamps don't have their strapping cases anyway. Why? The strapping sometimes will break if you clamp up standard size objects frequently (like all my boxes, say). You'll tend to apply pressure around the same place on the strapping over and over so eventually fatigue might break the it. Good luck getting what's left back in the round (spring-loaded) strapping case. It can be done but in another case of “the hell with it”, I'll just hang up the clamps with the leftover lengths hanging down as seen below.

Sigh...here are my Merle clamps hanging on the shop wall. What a mess.
The strapping! The strapping will drive you nuts too. Besides breaking, they'll try to poke your eyes out - the ones who have no round case to stay in anymore. Be sure to wrap tape around the exposed broken end. Although I've never actually cut myself, the edges just feel sharp in your hands so try to wear gloves - they tend to get in the way though. I've replaced some strapping and that can help when it gets mangled and difficult to get it to smoothly run through the corners (this will drive you stark raving mad!) To tell the truth, I don't remember if I ordered strapping from Merle (via MLCS) or if I just had some strapping or ordered it from the wrong source that didn't work out well as a replacement. You can buy new strapping with it's round case for ten bucks (and the clamp itself for that matter) at MLCS.
These complaints may seem whiny but when you are using these clamps as often as I do they become just plain frustrating. I've been known to toss one across the shop! And then immediately retrieving it because I have to use it! And that's the final situation I find myself in: can't live with them, can't live without them.
Final note: The new red plastic corners do NOT fit the old all-metal version of the Merle clamp.